


For added peace of mind, Beko large appliances are eligible for our 10 Year Beko Parts Guarantee
Read More 4.2 out of 5 rating from
over 44501 reviews

We are proud to be the UK's number one large home appliance brand, rated 4.2 out of 5 on Trustpilot.
92% of consumers
recommend Beko
We are proudly recommended by 92% of our customers on Feefo, an independent reviews platform with verified feedback.

How to Clean an Oven
Cleaning your oven is a great way of keeping your appliance looking its best and helping it to last longer. Some people prefer to get their ovens cleaned professionally, but cleaning your oven by yourself is an easy and hassle-free process. If you enjoy a bit of DIY, we’ve put together this handy how-to guide to help you learn how to clean your oven at home.

The Cleaning Process
We suggest deeply cleaning your oven every few months to keep your oven clean, hygienic and ready for use. To maintain your Beko oven, we’ve outline our recommended oven cleaning process in this handy guide. This guide will cover:
- Oven cleaning preparation
- Cleaning the side racks, walls and bottom of your oven
- Cleaning the exterior oven door
- Cleaning the control panel
- Cleaning the oven door by removing the inner door glass
- Cleaning your oven door by removing the oven door
- Using SimplySteam™ Cleaning
And if you’re wondering whether it’s safe to put plates in the oven before or after cleaning, read our full guide here.
Oven Cleaning Preparation
Here are a few general oven-cleaning tips you should know about before you get started:
- Before you begin cleaning, disconnect your oven from the mains supply.
- If you’ve recently used your oven, make sure you allow enough time for it to cool down before cleaning.
- If your oven comes with catalytic liners, you won’t need to clean them as they are cleaned automatically once your oven reaches 200°C.
- After each use, it is good practice to thoroughly clean your oven with warm water, washing up liquid, and a soft cloth or sponge.
- Note: If your oven has catalytic side and back walls, you don’t need to clean these, thanks to their porous surface which attracts and burns the oil off.
- To clean your oven you will need washing up liquid, warm water, a soft cloth or sponge and rubber gloves. For hard-to-clean spots, a variety of oven cleaning products can be used. Before using oven cleaning products, make sure to check they are suitable for your oven’s interior. If you aren't sure what type of interior your oven has, please refer to your instruction manual. Can't find it? Don't worry you can download your manual here.
Cleaning the side racks, walls and bottom of your over
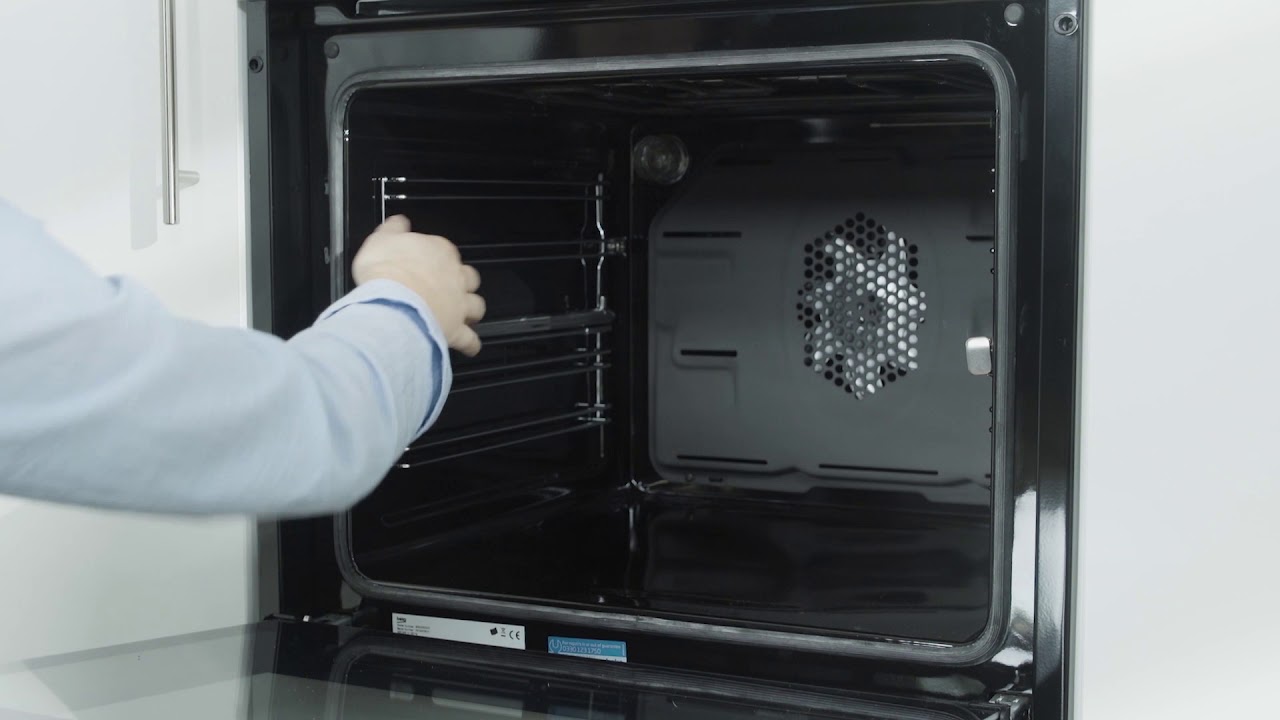
Quite a few models from our range of ovens come with removable side rack supports, which are specially designed to be easily removed, for a hassle-free cleaning experience. To remove the side racks in your oven, follow the instructions below. Alternatively, watch the above video for a more visual guide.
- Remove the side racks by pulling the front section outwards.
- The front section will pop out, remove the rack by pulling it towards you.
- Clean using warm water, washing up liquid, and a soft cloth or sponge.
- For hard to clean areas, make a paste with baking soda and water. Place this over problem areas and leave to sit overnight. In the morning, wipe off the cleaning paste and spray the oven’s interior with vinegar. This was loosen any residue paste for easy removal. Clean the oven’s interior thoroughly using water.
Once the side racks are removed and cleaned. Follow the same cleaning process outlined above on the walls and bottom of your oven. Once you’ve finished cleaning the oven, your cooker hood might need attention too. If you have a stainless steel model, follow our dedicated cleaning guide to keep your kitchen looking and smelling its best, and see our step-by-step guide on how to replace the filter.
Cleaning the Exterior Oven Door
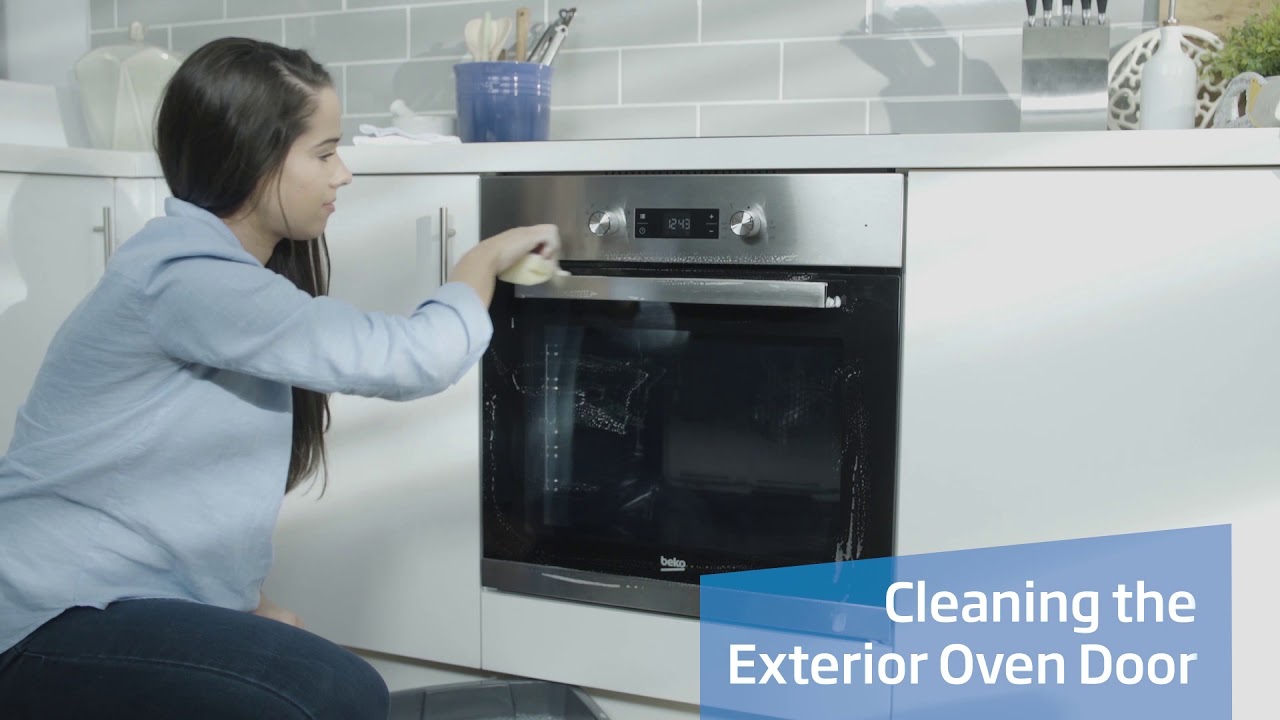
After you’ve cleaned your oven’s interior, the outside of your oven door will need to be cleaned. Watch the video above to see how to clean the outside of your oven door. Alternatively, follow these quick and easy steps to find out how to do this:
- Using warm water and washing up liquid, gently clean the exterior oven door with a soft cloth or sponge.
- For tougher stains, use a suitable glass cleaner and a soft cloth.
- Wipe over with a dry cloth once cleaned to reveal sparkling results.
Cleaning the Control Panel

Next, you’ll need to clean your oven’s control panel. This is a quick and simple process which you can do quite regularly to keep your oven looking its best. Watch the video above to see how to clean your oven’s control panel. Or, follow these quick and easy steps to find out how to do this:
- Clean your control panels and buttons using a damp cloth
- Wipe dry with a clean and dry cloth
- Note: Do not attempt to remove the control knobs and buttons as this may damage your appliance.
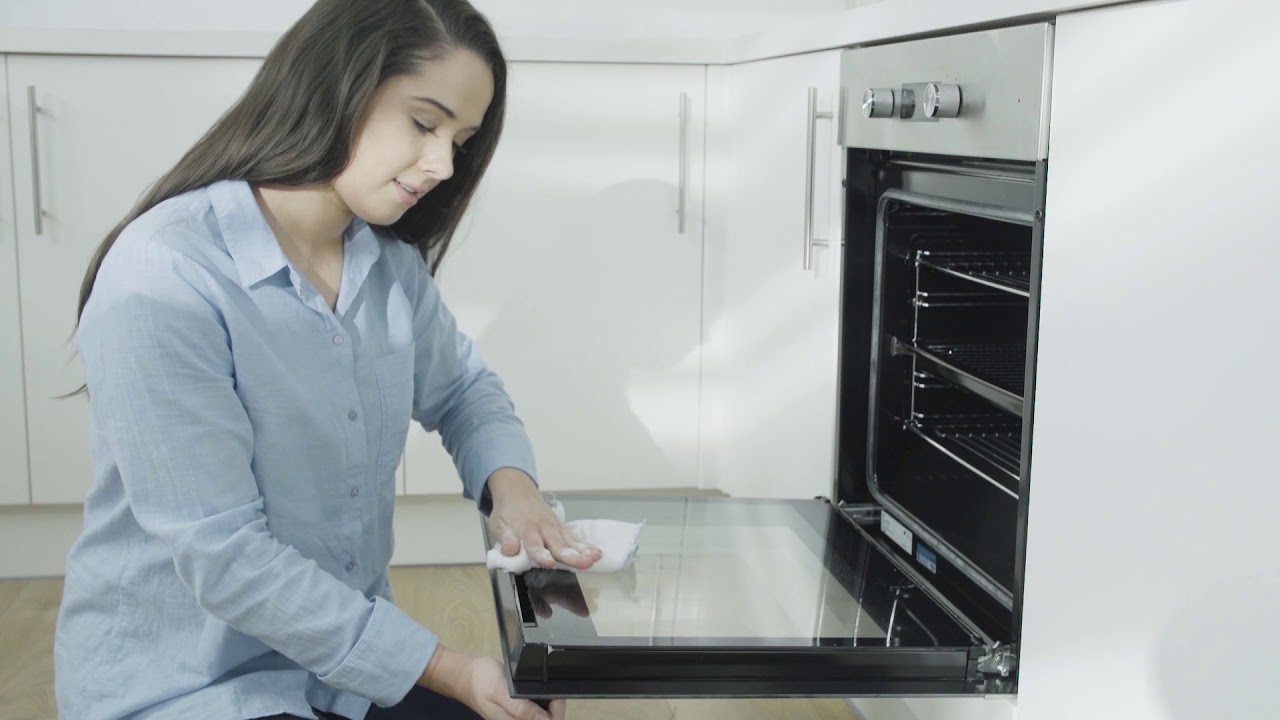
Cleaning the oven door by removing the inner door glass
Our range of built-in ovens and cookers allows you to clean your door easily, by simply removing its inner glass. Depending on the type of oven you have, the door could have either two, three, or four pieces of glass in the door. Watch the video above to see how to remove and clean the door inner glass. Or, follow these quick and easy steps to find out how to do this:
- Open the oven door so that it is at an angle.
- Locate the plinth at the top of the door and lift it up and away from the door to remove it.
- Once you’ve removed the plinth, you’ll be able to see how many individual pieces of glass there are.
- Lift the individual pieces of glass away, one by one for cleaning. Note: When replacing the pieces of glass, ensure they are placed back in the same order that they were removed. When replacing the last piece of glass, ensure the side of the glass with the shiny finish is facing towards the oven.
- Once all pieces of glass have been cleaned the way you like and re-fitted, place the plinth back on top to hold the pieces of glass in place.
Remember to clean your appliance's inner grill as well, see our guide for practical tips.
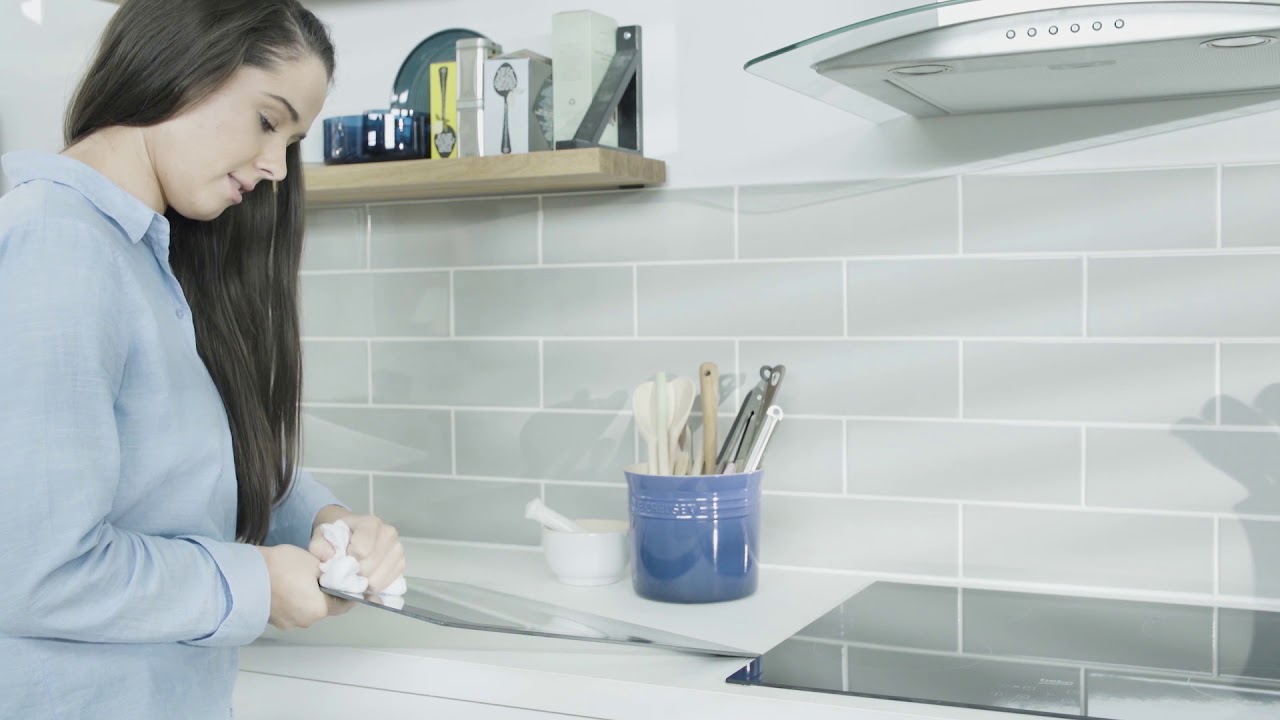
Cleaning your Oven Door by Removing the Oven Door
Our range of built-in ovens and cookers also comes with the option of easily removing the oven door, so that you can clean it. Watch the video above to see how to remove your oven door and clean it. Or, follow these quick and easy steps to find out how to do this:
- Locate the 2 hinges at the base of the oven door, one on each side of the base of the door.
- Alongside each hinge, there is a small clip bracket which needs to be pushed away from yourself in order to release the door from the rest of the oven.
- The clip may be stiff, so if necessary, use a flat head screwdriver.
- Once both brackets have been pushed towards the oven, raise the door up to the level where it naturally stops then, lift the door upwards.
- Clean using warm water, washing up liquid, and a soft cloth or sponge.
- For tougher stains, use a suitable glass cleaner and a soft cloth.
- Replace the door back in its position.
Using SimplySteam™ Cleaning

Some of our ovens come with SimplySteam™ cleaning technology, which is a great way of hygienically cleaning your oven without needing to scrub the inside with harsh cleaning chemicals. Watch the video above to see how to use this handy cleaning feature. Or, follow these quick and easy steps to find out how to do this:
- Remove all the accessories from your oven.
- Fill a metal container, like a roasting tin, with 400ml of water.
- Place the water-filled container at the bottom of the oven.
- Set the oven to its steam cleaning mode and run at 200°C for 25 minutes.
- Open the door and wipe the inner surfaces with a damp sponge or cloth, using warm water and washing up liquid. Note: Ensure you’re wearing protective clothing and gloves to prevent any accidents or injuries.
- Wipe over with a dry cloth once cleaned.
If you have any questions regarding these steps, please feel free to contact our customer service team, with the model and serial number of your built-in oven or cooker. They will be happy to assist you.
Did you find this How-To guide useful?
Thank you for your feedback and we are sorry this How-To Guide wasn’t useful to you. If you would like further assistance, please head over to our Contact Us page.
Need Product Support?
If you have any questions about your Beko appliance, we are here to help. Finding answers and information is easy with Beko’s helpful online resources, simply browse our product support topics below and select the one that is relevant to you.

Manuals
Beko manuals contain helpful information and advice about your appliance.
View Manuals
Parts & Accessories
We stock genuine Beko spare parts and accessories for all of our models.
View Range Now
FAQs
Browse the most asked questions about our product range.
Search FAQs
Repairs
Information on our professional repair services.
View Repairs