How to Remove an Integrated Dishwasher: A Step-by-Step Guide
If you're preparing to replace or dispose of an integrated dishwasher, knowing how to remove it safely and efficiently is crucial. Whether you're renovating your kitchen or installing a new appliance, following the right steps will save you time, prevent damage, and avoid unnecessary hassle.
This guide will take you through the process, from clearing the space to disconnecting utilities and lifting the unit out of its place.
Preparation for Removing the Dishwasher
Before you get started, some preparation is necessary to ensure a smooth removal process. This can help you avoid damage to your kitchen or the appliance itself.
Clearing the area: First, make sure the space around the dishwasher is free from obstacles. Remove any kitchen items, nearby furniture, or cleaning supplies that could get in the way. If your dishwasher is built into cabinetry, clear out the surrounding cabinets to give yourself room to work. This step will make the entire process safer and more efficient.
Tools required: To remove an integrated dishwasher, you'll need a few essential tools:
- Screwdrivers (flathead, Torx and Phillips)
- Adjustable pliers
- Towels
- A bucket
- An adjustable wrench (to loosen pipes)
- Protective gloves
- Protective floor coverings (to prevent damage during removal)
- Voltage tester
By gathering all your tools ahead of time, you'll be well-prepared for each stage of the removal.
Disconnecting the Integrated Dishwasher
Once your space is prepared and you have your tools ready, it’s time to begin the actual removal process.
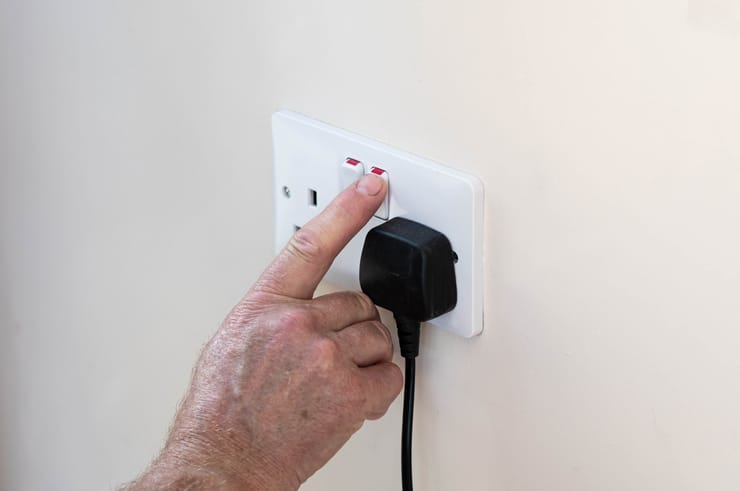
Turning off power and water: Start by turning off the power supply to the dishwasher. Head to your home's electrical panel/consumer unit and flip the breaker/MCB that powers the unit. Double-check the dishwasher’s power is off before proceeding with disconnecting. Next, turn off the water supply to the dishwasher. You can usually find the shut-off valve or stopcock under the sink or in close proximity to the dishwasher. If you have trouble locating it, you might need to turn off the main water supply for the house.
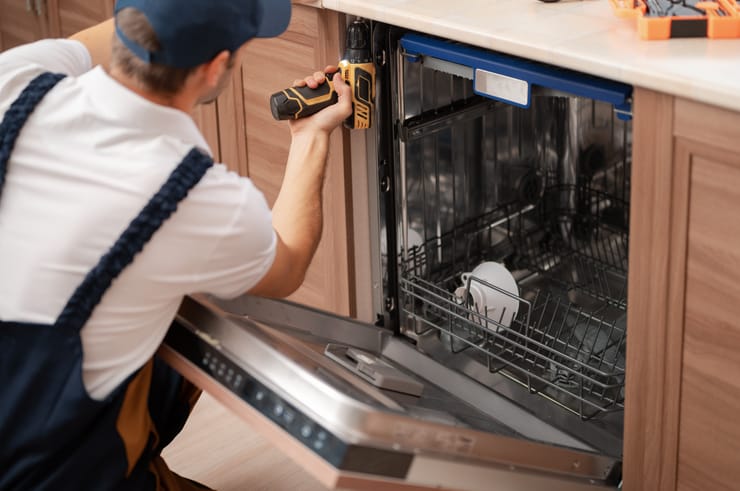
Unscrewing from the countertop: Integrated dishwashers are typically secured to the countertop with screws. Using the correct type of screwdriver, carefully remove the screws that hold the unit in place. Check that any adjustable legs are loosened before removing. Be sure to place a towel or protective cloth underneath the unit to prevent floor scratches when removing the dishwasher.
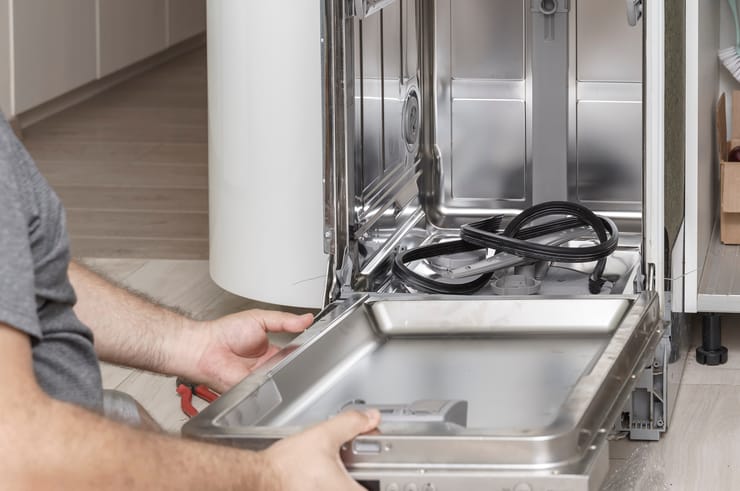
Removing the unit: If the dishwasher doesn't slide out easily, gently wiggle it while pulling to loosen it from its position. Have a second person assist to prevent tipping or accidental damage.
Detaching Electrical and Water Connections
Now that the dishwasher is free from the cavity, it’s time to disconnect the electrical and water components.
- Remove the 13 amp plug: This should be located near the dishwasher, follow the cable from the dishwasher to the plug and remove.
- Disconnecting pipes: Dishwashers are connected to both a water line and a drain line. Loosen the compression fitting on the water line (ensuring the water tap is in the OFF position first) with an adjustable wrench and disconnect the drain line by loosening the clamps. Be prepared with towels and a bucket to catch any water that may still be inside the pipes. It’s important to go slowly to avoid spills or water damage.
Removing the Integrated Dishwasher Door
In some cases, it may be easier to remove the dishwasher door separately before pulling out the main unit.
- Removing the door panel: Use a screwdriver to unscrew the decorative door panel. Carefully lift the door off the unit, ensuring you don’t damage it. Removing the door can make the appliance lighter and easier to manoeuvre.
- Handling the door: Handle the door carefully to avoid bending or scratching it. If you're planning to reuse or sell the dishwasher, set the door aside in a safe place.
Completing the Removal
You're almost done! Now for the final disconnections.
- Loosening compression fitting: Loosen the fill pipe fitting carefully and be prepared for any remaining water to leak out. Use your bucket and towels as needed.
- Disconnecting the water line and drain line: Finally, fully remove the water line and drain line from the dishwasher. If you're removing the drain line that runs to your kitchen sink, ensure it is securely disconnected from the sink’s drainpipes. Once removed, if you are not refitting a new dishwasher immediately, please ensure that you block the waste pipe under the sink with a bung to prevent flooding
Common Pitfalls to Avoid
When removing an integrated dishwasher, certain common mistakes can lead to frustration or damage.
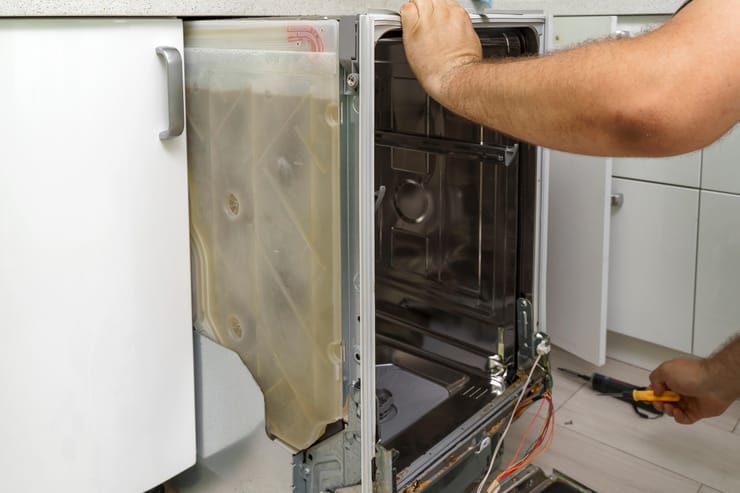
Avoid tipping the dishwasher: Tipping the dishwasher during removal can cause water spillage or damage to your flooring. Always lift and slide the unit out evenly, using help if needed.
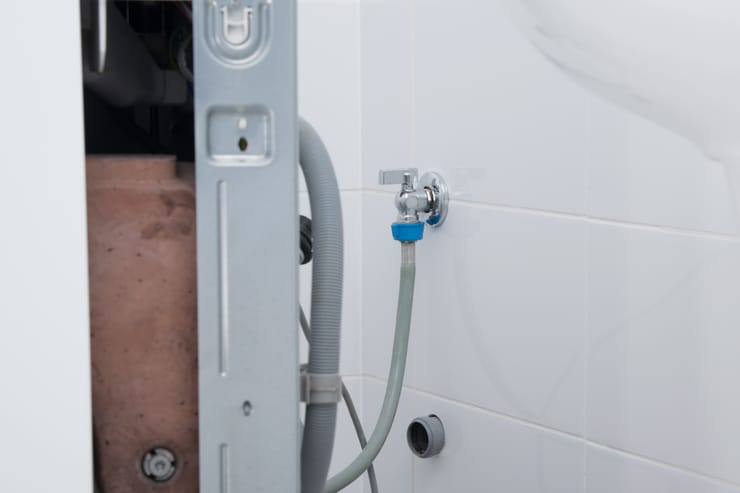
Do not remove without disconnection: Attempting to remove the dishwasher before fully disconnecting the power, water, or drain lines can result in leaks, electrical hazards, or damage to the unit. Always ensure everything is disconnected before removal.
Avoid DIY alone: Integrated dishwashers are heavy. Removing one on your own could lead to injury or damage to the appliance. Recruit assistance for the heavy lifting.
Disposal and Recycling of the Old Dishwasher
Once your old dishwasher is removed, it's important to dispose of it responsibly.
When purchasing a new dishwasher, most retailers offer a removal and recycling service for your old appliance. Typically, you’ll need to disconnect your old dishwasher and empty it, making it ready for pickup. In line with WEEE regulations, this ensures that your old appliance is disposed of responsibly and recycled in an environmentally friendly manner.
Dishwashers contain components that can be harmful to the environment if not disposed of properly. To minimise your environmental impact, be sure to check local regulations for recycling white goods and follow the guidelines for safe disposal. By recycling your old appliance, you help ensure that valuable materials are reclaimed, and harmful substances are kept out of landfills.
How to Reinstall a New Dishwasher
Now that your old dishwasher is out, you might be planning to install a new one. For detailed instructions on installing a new dishwasher, check out our guide on how to install and connect a new dishwasher, where we walk you through the steps of installation from start to finish.


